![]()
Import Field
Import and Insert data field in the label.
Import Field
|
|
|
Import Field |
|
Import and Insert data field in the label. |
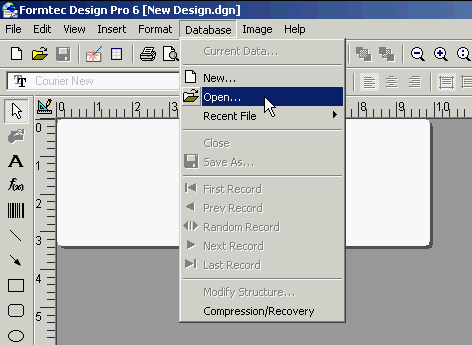
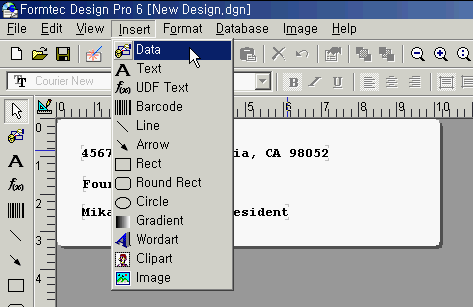
| 1. Select paper from New Design and Select Insert > Data or Click Insert Field from Drawing Tool Bar. You can use this after opening a file by selecting Open from Database in the Menu.
|
|
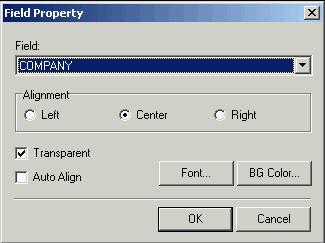
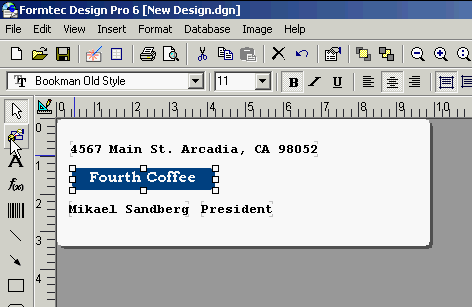
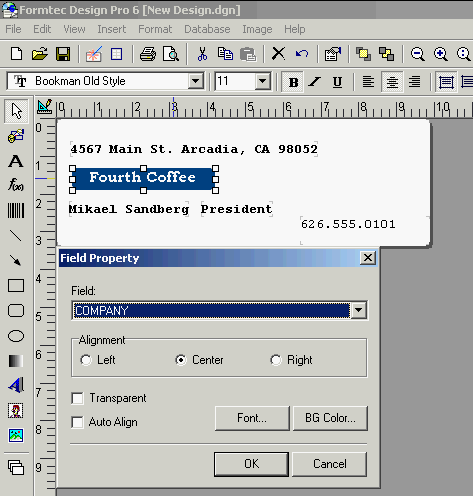
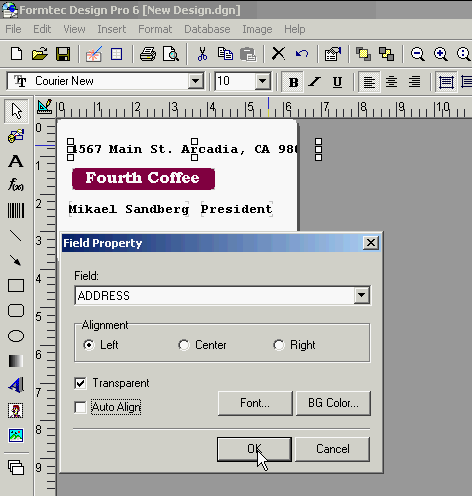
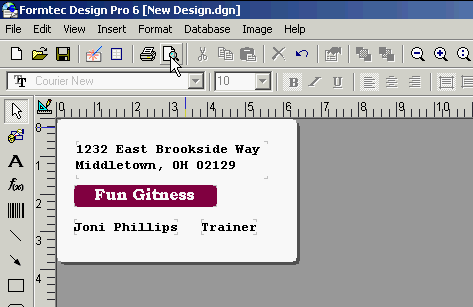
2. After selecting Data Item, click or drag on to the position on the label, and Field Property window will pop up. Select Data Item from Filed Registration Information and setup options such as fonts. Repeat this process to import necessary fields. In the Screen Shots below, COMPANY was selected as a field, character alignment was set to be Center, and font was set to Bookman Old Style.
|
|
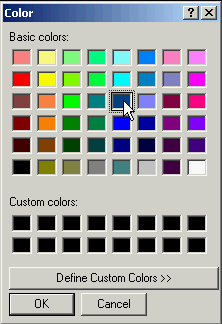
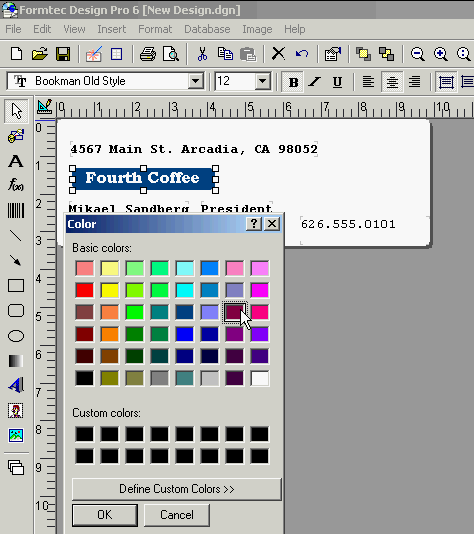
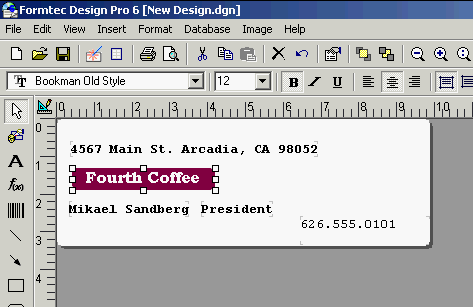
3. If you assign a background color while Autofit is selected in Field Property, the field will be unselected. This is because only the dragged area will bet filled with color. Under Autofit option, background color and object are selected and field length is automatically set according to the data length. If the field length is long as in address, the number of characters is automatically calculated and minimum field length is assigned.
|
|
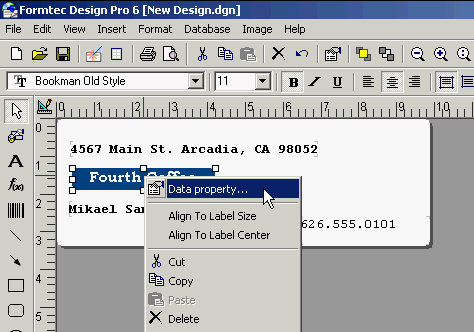
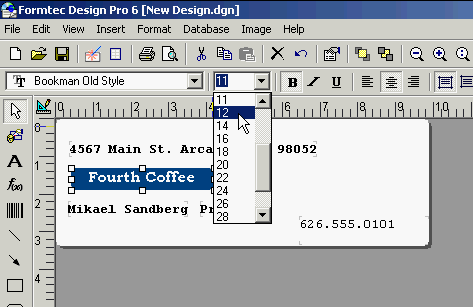
4. If you wish to change the setup in Field Property, highlight an object and click right mouse button to activate Field Property dialog box. This can be done also in Font Tool Bar after selecting an object.
|
|
5. If there is a field to be added, repeat Import Field. |
|
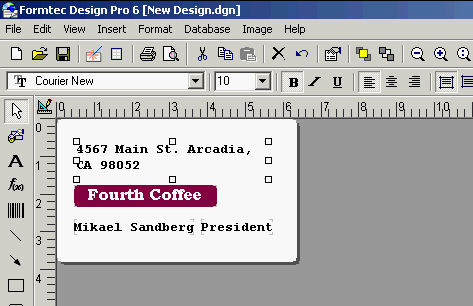
6. Select an object and place the mouse pointer to the boundary so that the pointer becomes a both-directional arrow. Then drag the frame to an appropriate size or position. Once the first data is setup this way, it will be applied to the rest of the data collectively. In case of address where the data length is long, deactivate the Autofit option so that data will not get broken during print out. Once the Autofit option is turned off, address can be printed out in multiple lines. This can be done by adjusting the object size properly. Select Drawing
|
|
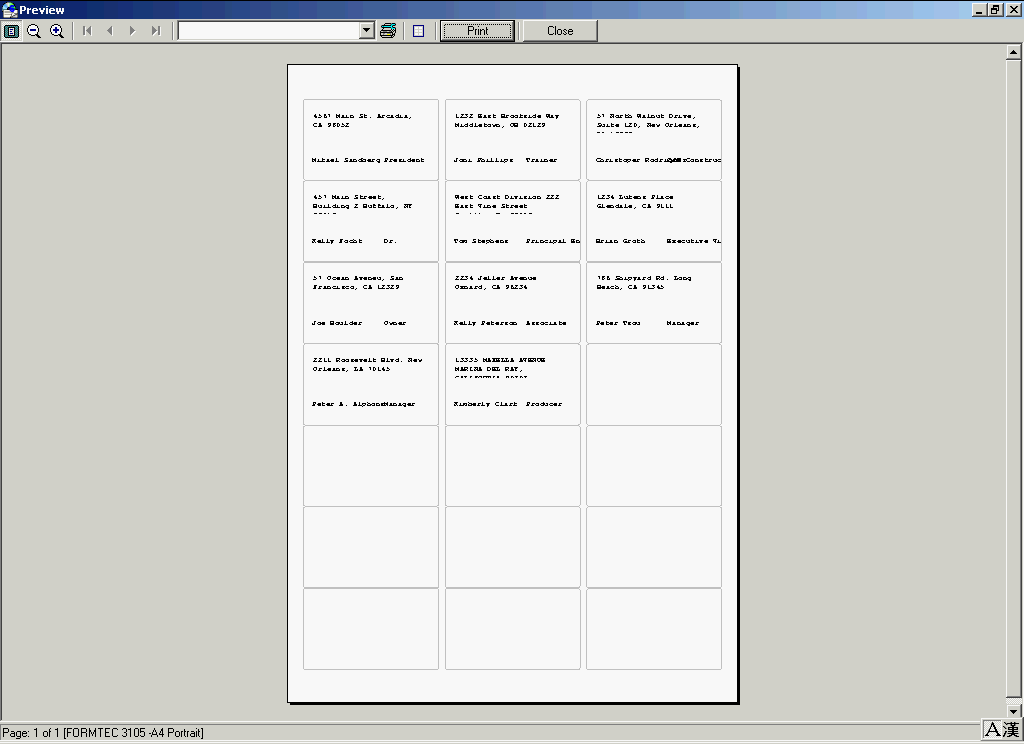
7. The print status can be checked using print preview or
|