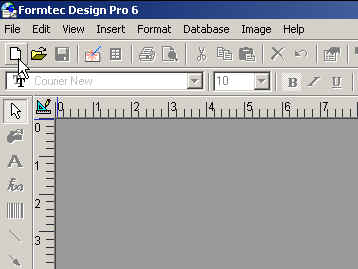
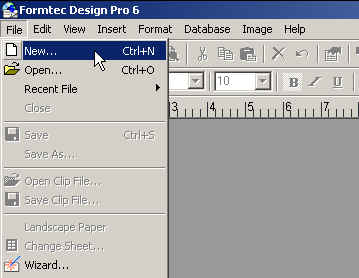
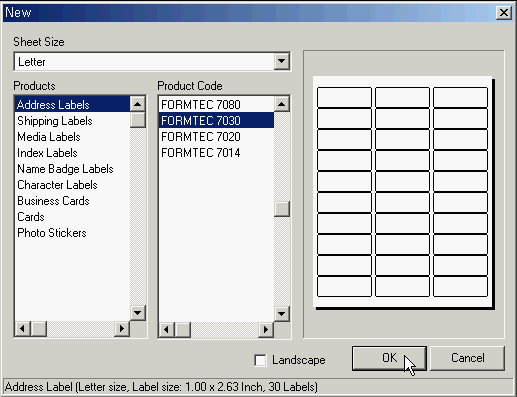
1. Select File > New in menu bar or click New icon.
2. When Select Sheet window popup, select the sheet size.
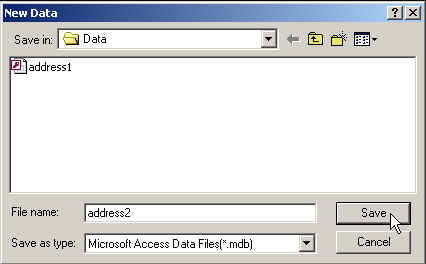
3. After selecting a sheet, and choose Database > New... from the menu bar, then New Data window popup. Click Save to save the database. (Database file is saved under 'Data' directory.)

4. After creating user definition database, Data Input/Browse window popup. Input a new group name in Group textbox and press OK button. Click add name Button to add a name or Input a name directly in name textbox.
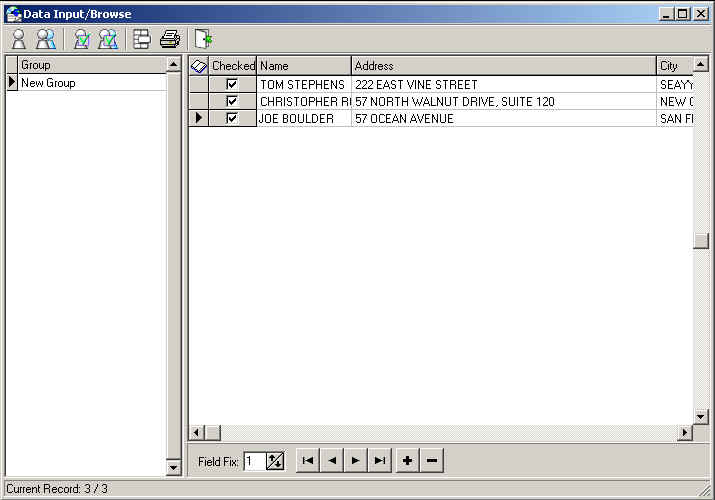
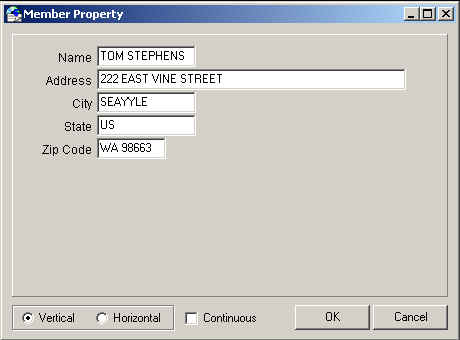
5. After finishing data input, click close icon, then Select Print Range window popup. Choose print range of the label and press OK button.
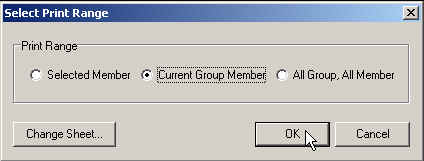
6. After selecting print range, Field Layout window popup. {
The list of field you made in Data Input/Browse windows appears. Click > button to add fields to Field Layout, and also these fields can be moved by mouse. Click < button to remove from the Field Layout.
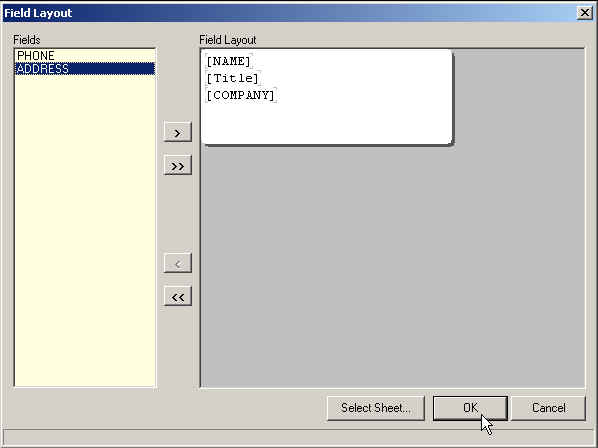
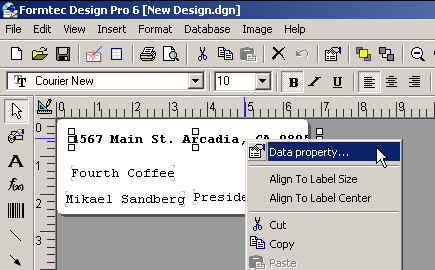
7. After finished field layout, click OK button, and first data of fields appears in the labelin Design windows.
If the address is bigger than the layout, you can adjust the size of the field. After selecting the object you wish to adjust and then right clicking it, select Data Property in pop up menu.
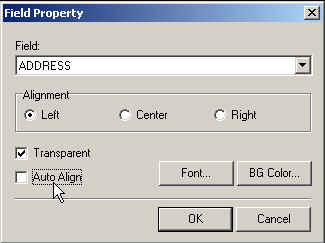
8. After Field Property window popup, deselect Auto Align checkbox and click OK button.
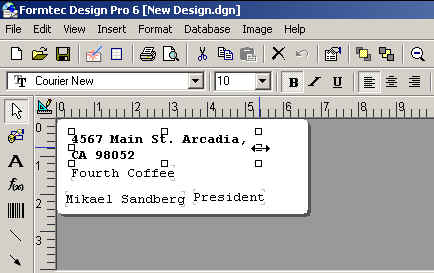
9. If you want to adjust the size of the object, move the mouse cursor on the edge of the object, and the vertical or horizontal resize pointer appears. Move the pointer to see all two lines with left button pressed.
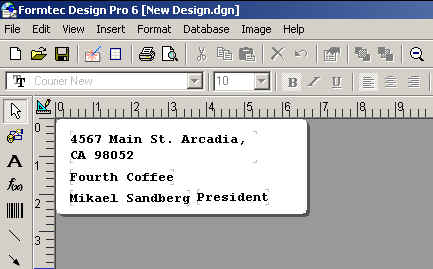
You can see all the address are two lines in Preview window.
