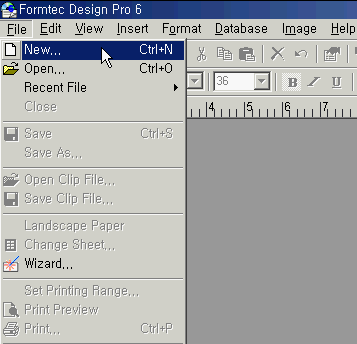
1. Select File > New from the menu bar or click New icon.
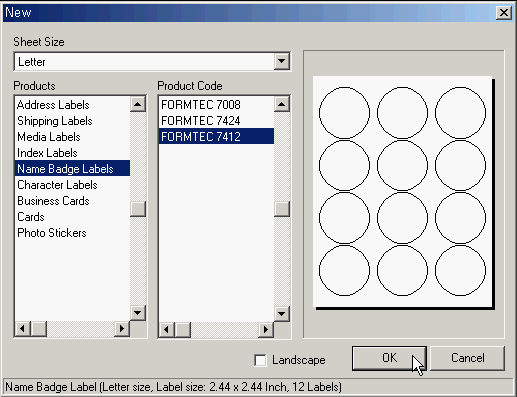
2. When Select Sheet window popup, select the sheet size.
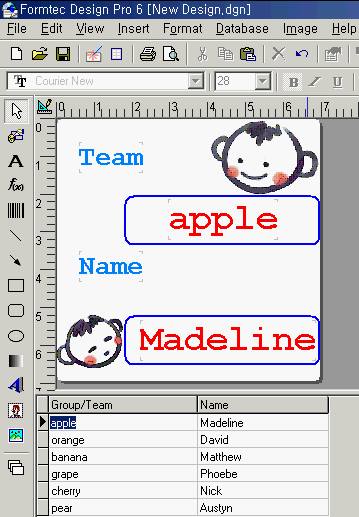
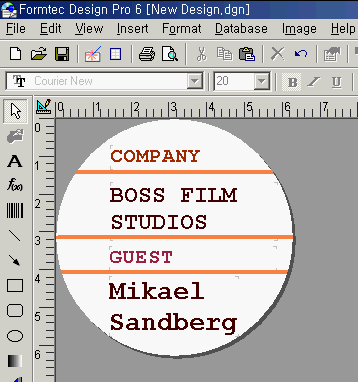
3. After selecting a sheet, the sheet is generated in design window, and Input the text you desire.
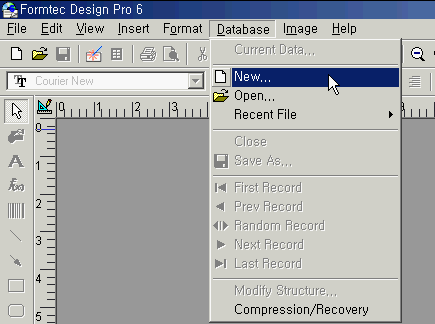
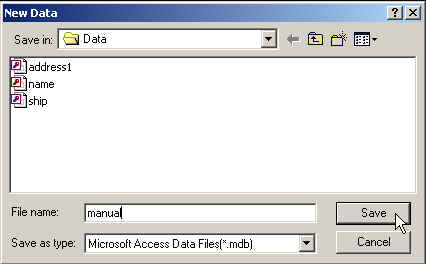
4. After selecting a sheet, and choose Database > New... from the menu bar, then New Data window popup. Click Save to save the database. (Database file is saved under 'Data' directory.)
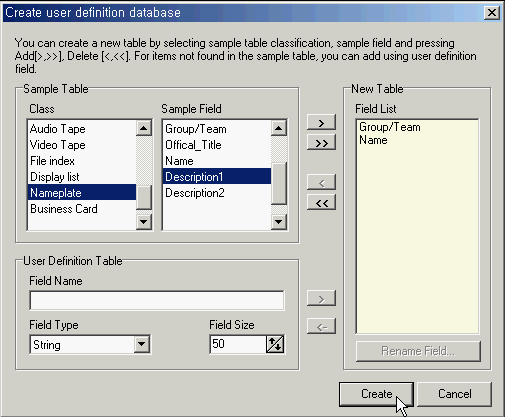
5. After inputing a file name in File Name Textbox and Create User Definition Database window popup, here you can make list of fields to add in user defined database. You can add fields from the Sample Field listbox by clicking > button, or input new field names in Field Name textbox in the User Definition Table and then add user defined fields by clicking > button.
6. After creating user definition database, Data Input/Browse window popup. Input a new group name in Group textbox and press OK button. Click add name Button to add a name or Input a name directly in name textbox.
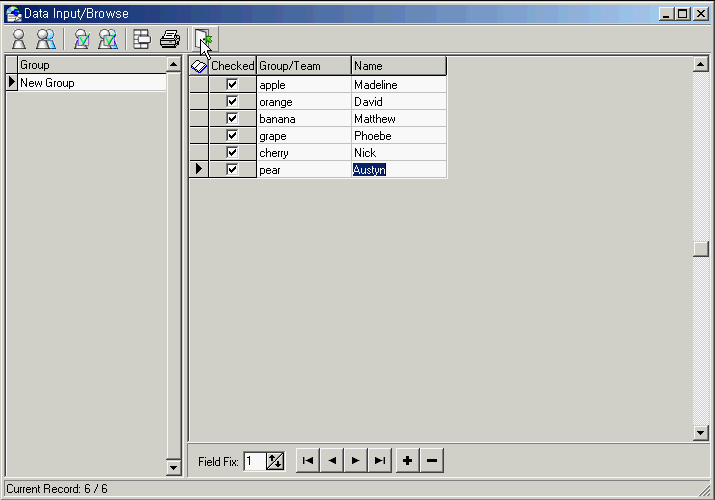
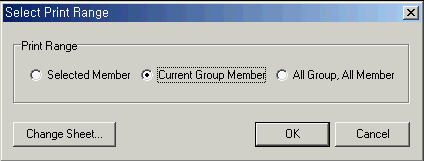
7. After data input is finished, click close icon, then Select Print Range window popup. Choose print range of the label and press OK button.
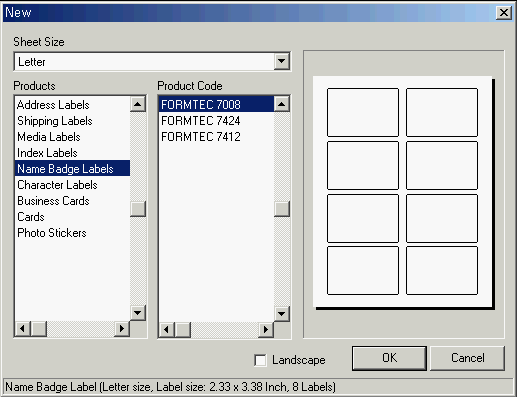
8. After selecting print range, Select Sheet window popup. Select label code and press OK button.
9. After selecting print range, Field Layout window popup. {
The list of field you made in Data Input/Browse windows appears. Click > button to add fields to Field Layout, and also these fields can be moved by mouse. Click < button to remove from the Field Layout.
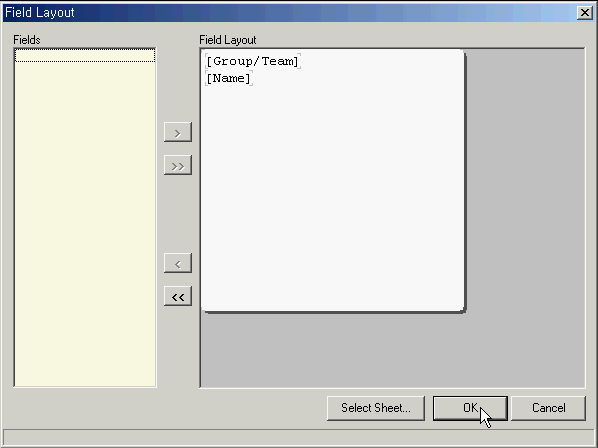
9. After finished field layout, click OK button, and first data of fields appears in the labelin design windows.
